
Get started with SIP

Follow this guide to create a SIP endpoint in your SignalWire Dashboard, register it to a SignalWire phone number for handling incoming calls, or dial it via a number of SignalWire products.

Create a SIP endpoint​

To get started, login to the SignalWire Dashboard. If you have multiple Spaces, select the one to which you want to use for this guide.

note

Want to create a SIP endpoint programmatically instead? Use the Create A SIP Endpoint API.

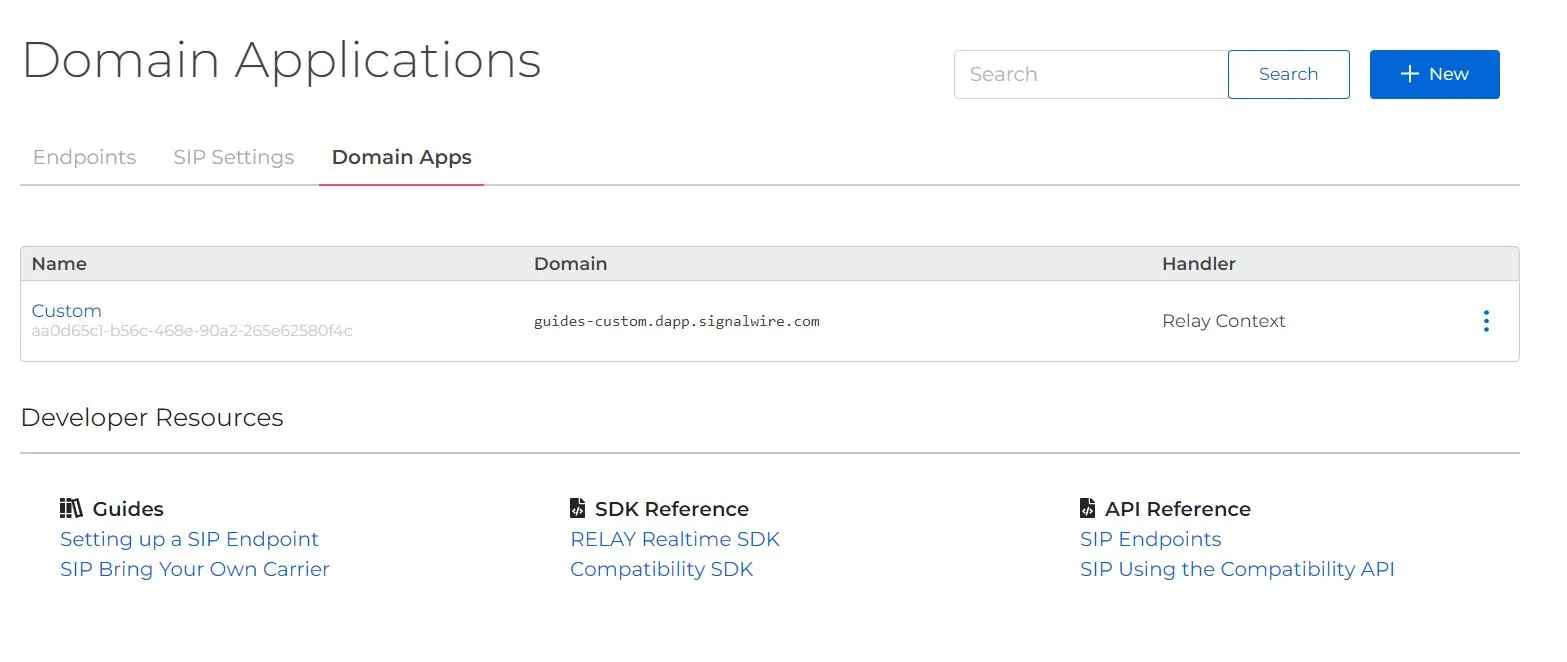
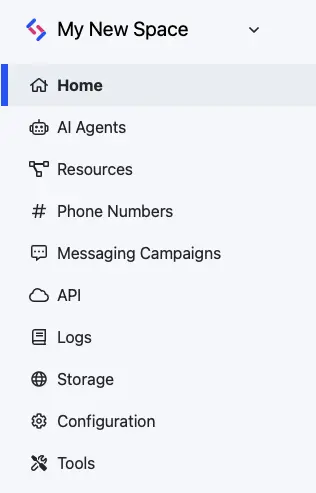
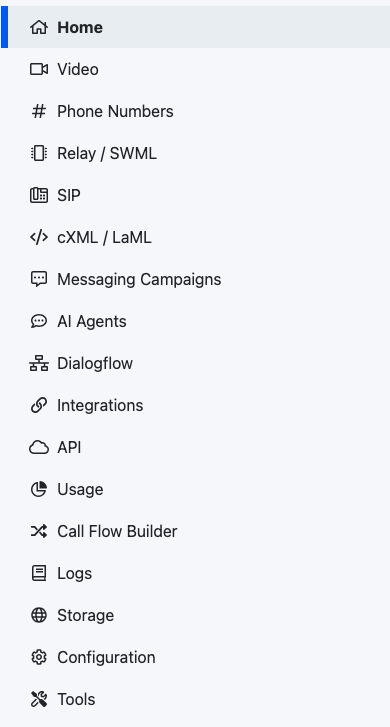
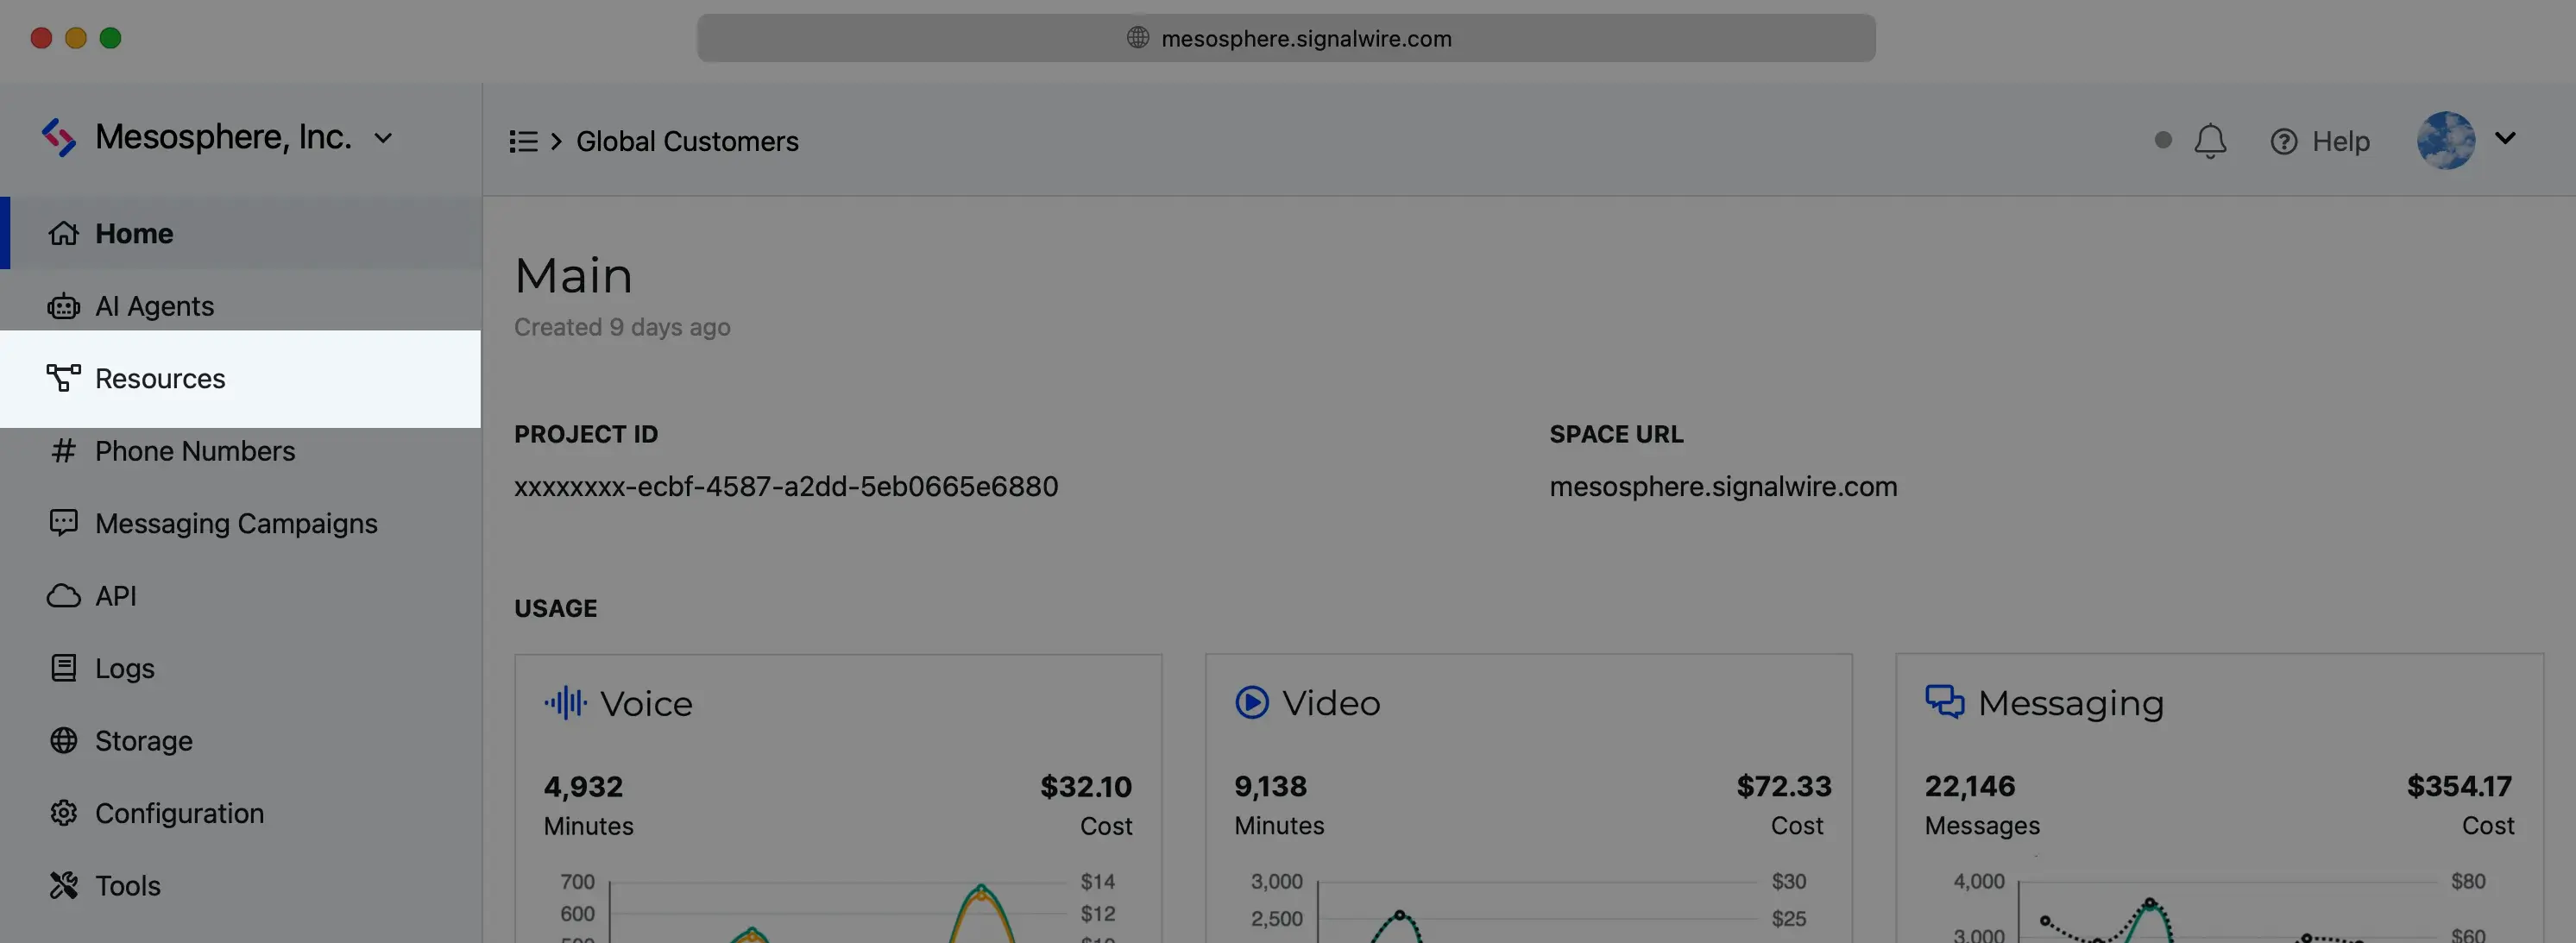
Open the Resources tab​

Find the Resources tab in the main sidebar menu of your Dashboard.

No Resources tab?

If you don't see the Resources tab, your SignalWire Space is on the Legacy Dashboard. Refer to the Legacy section of this guide for instructions for your Dashboard and information about the migration.

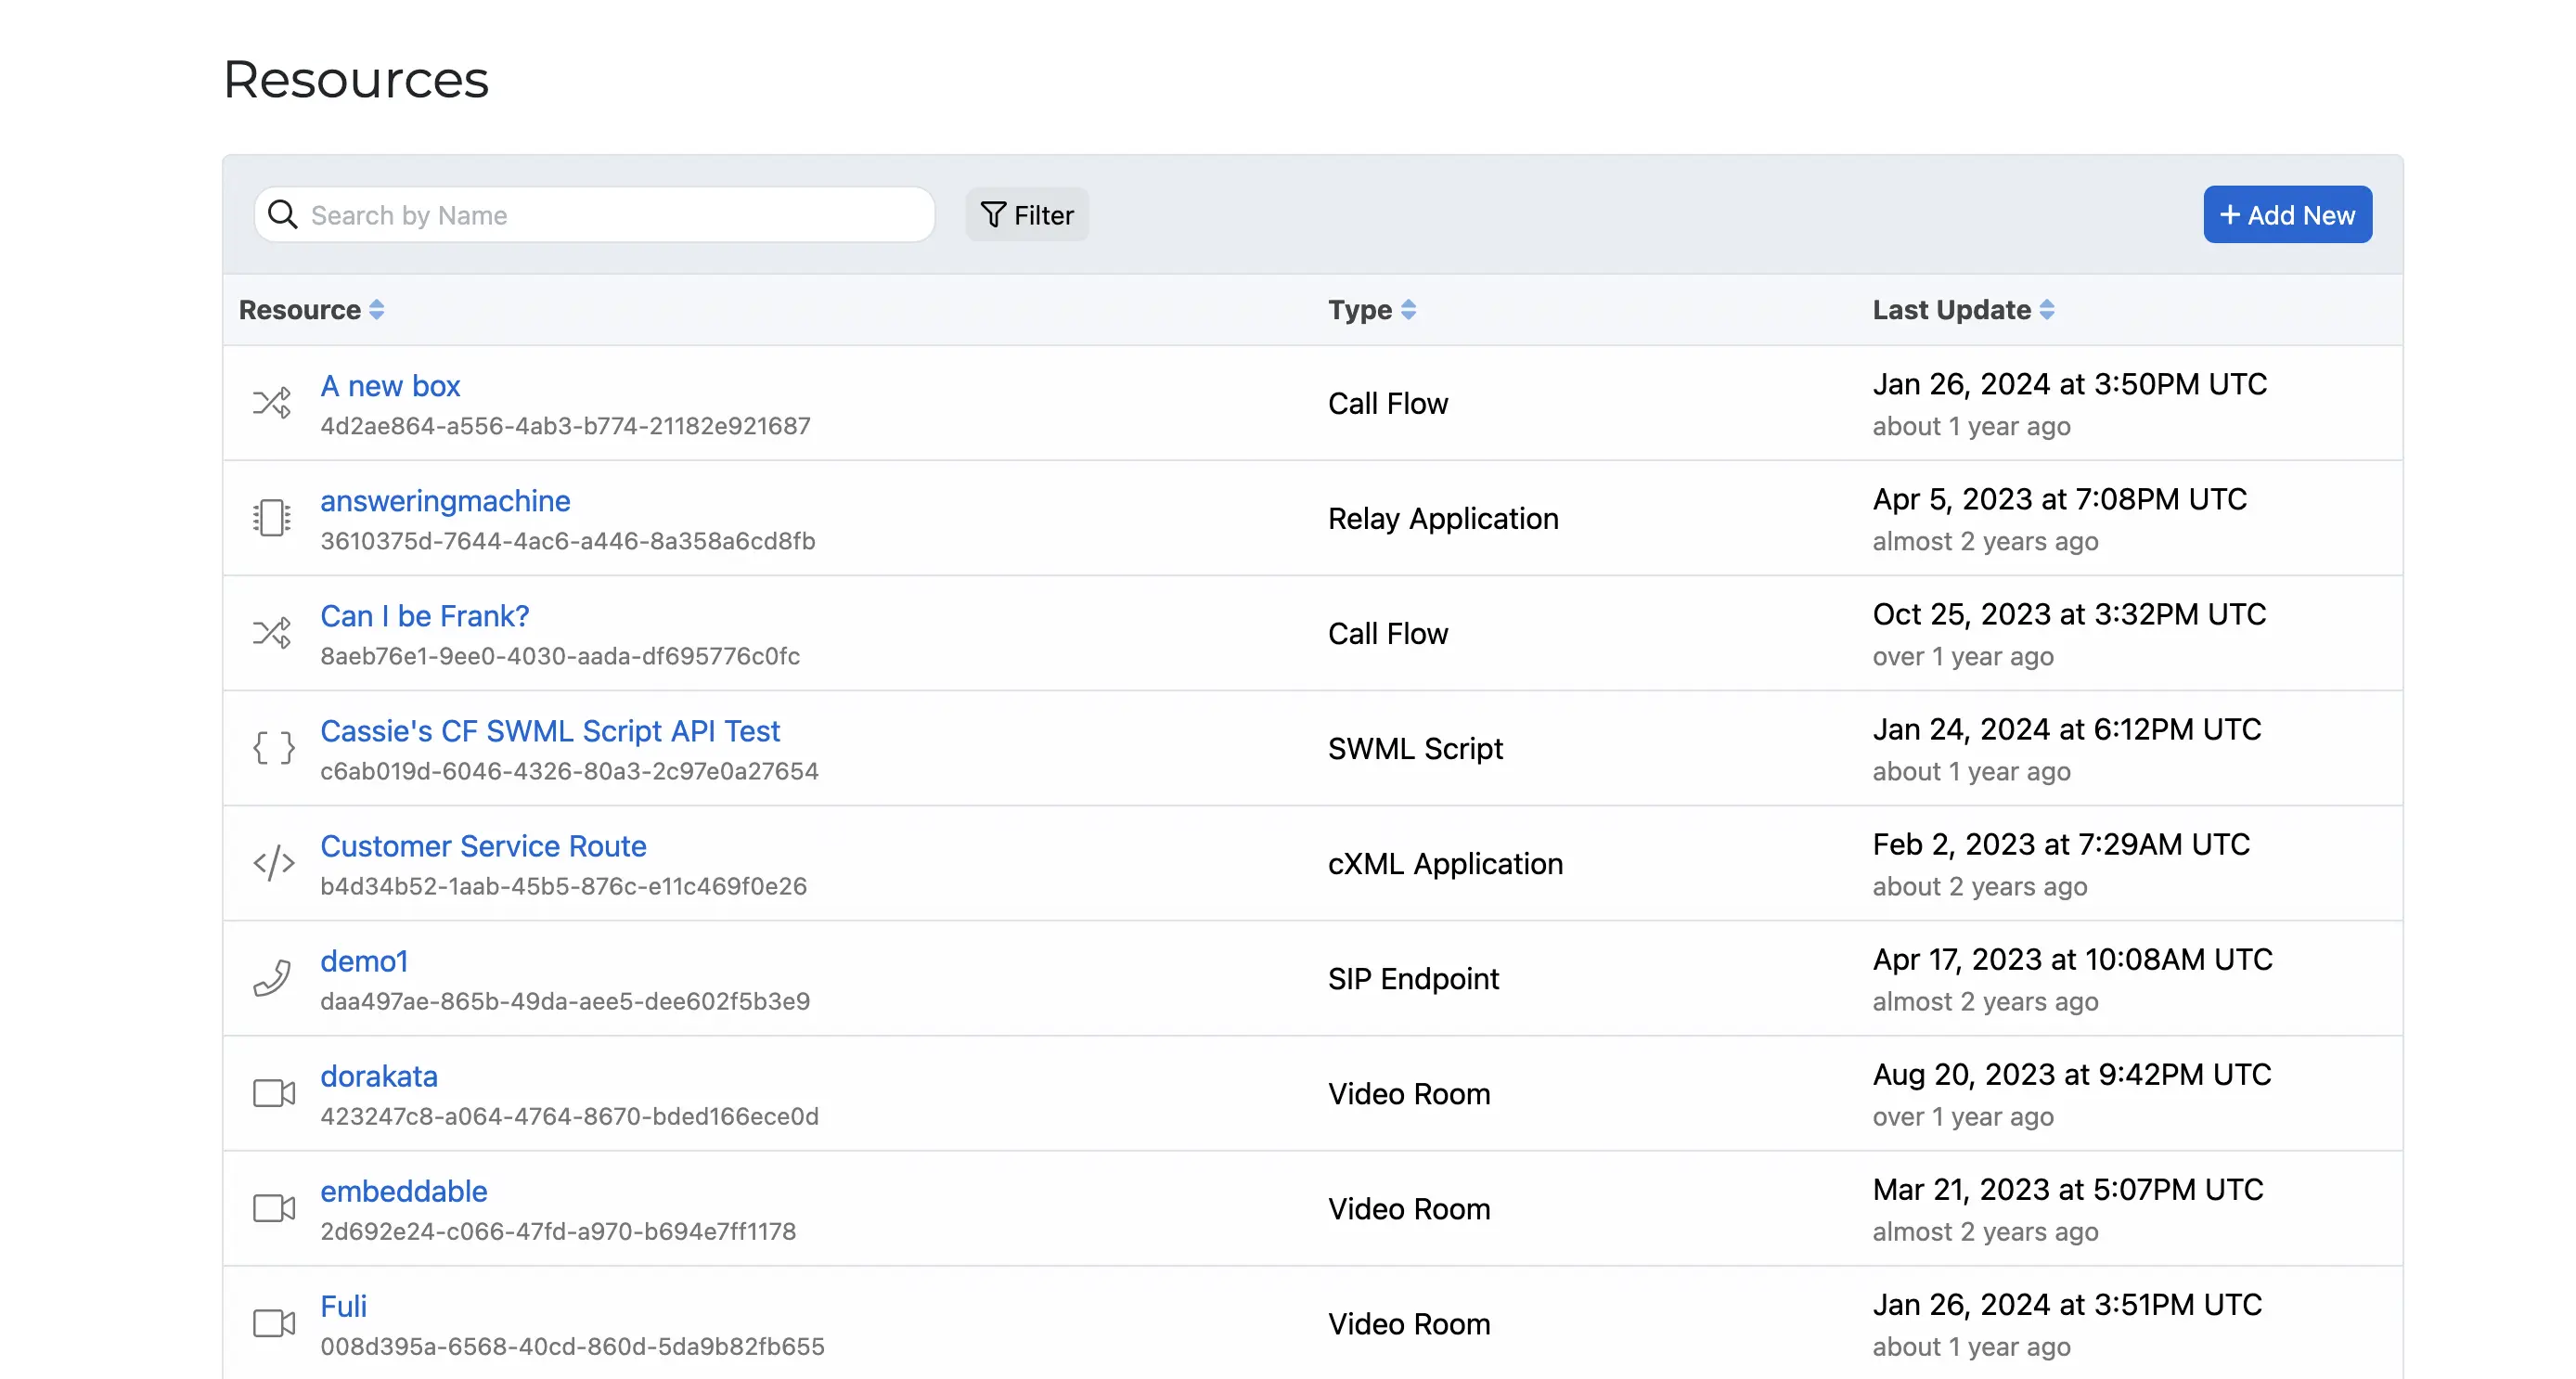
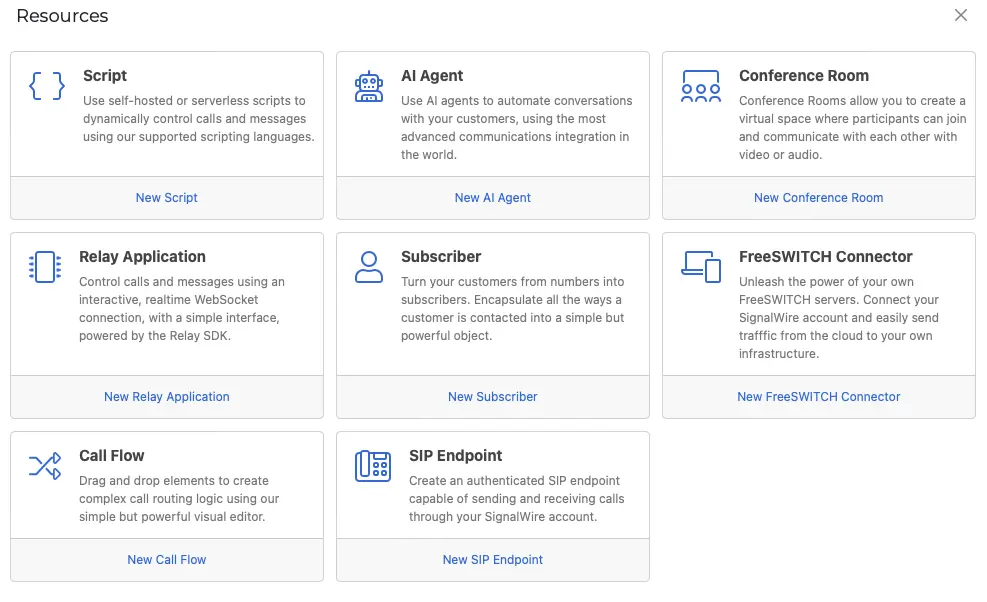
Create a new Resource​

From within the Resources tab, click Add New, and select SIP Endpoint.

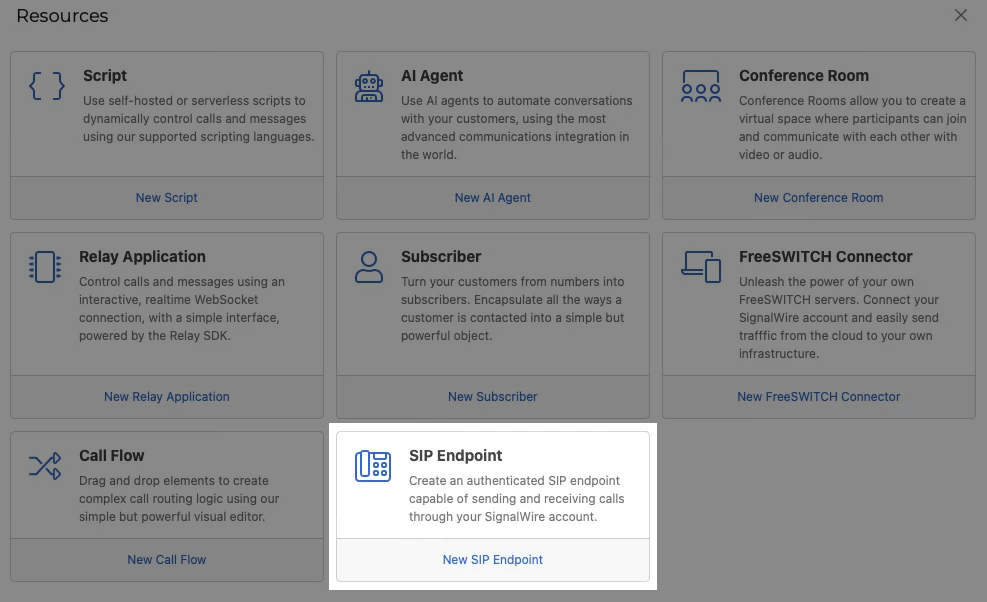
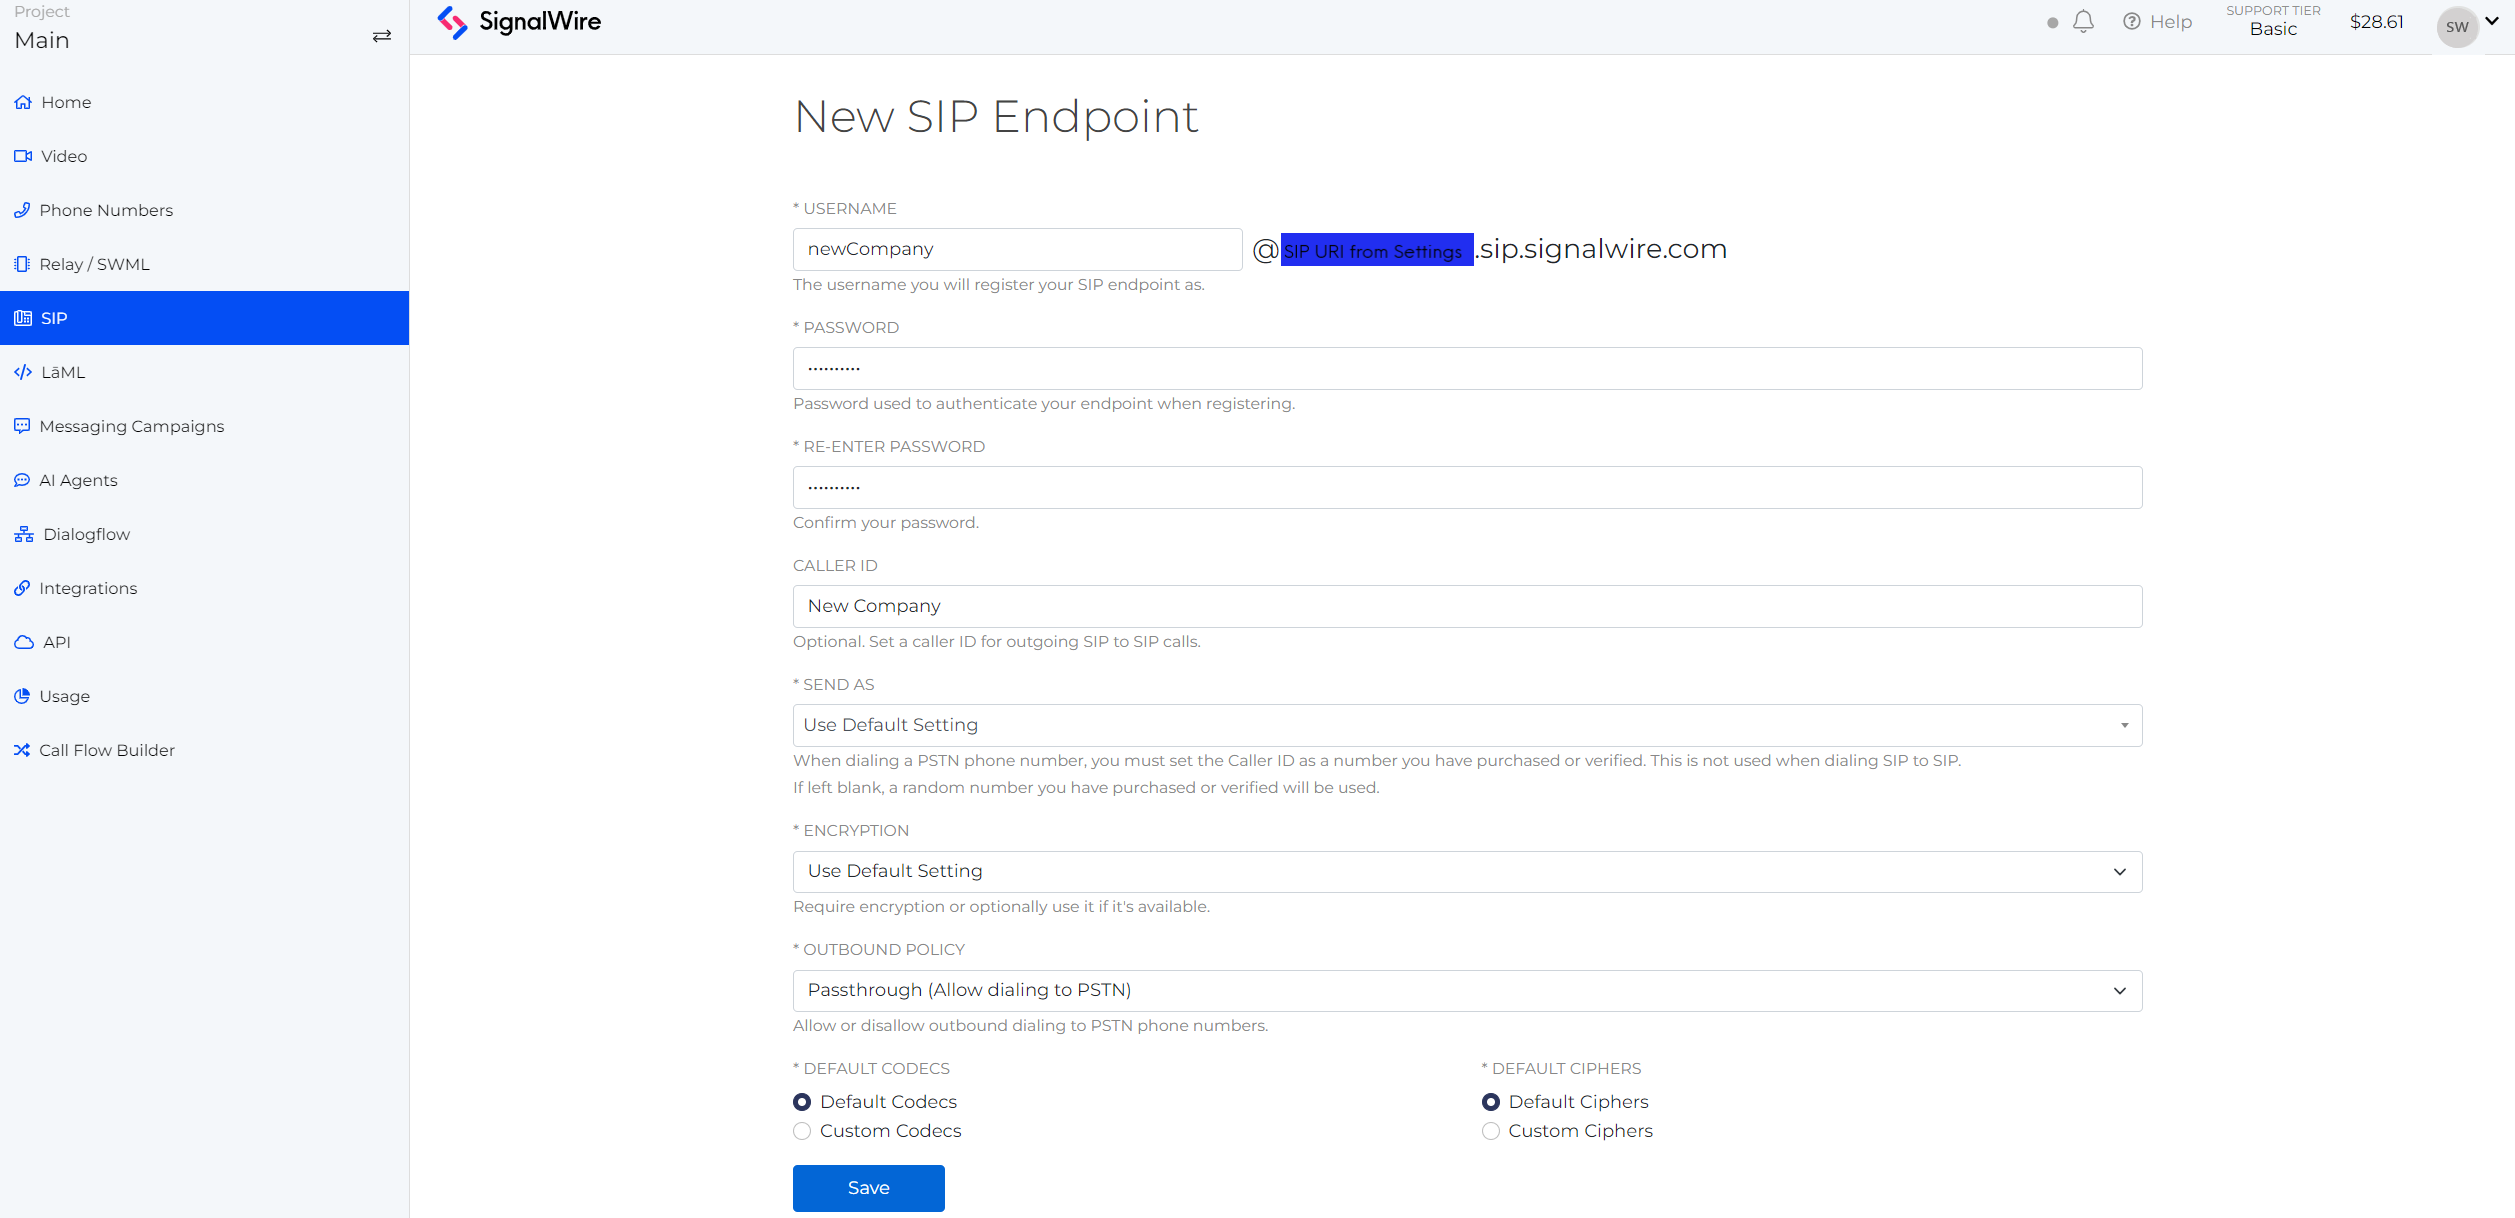
Set the following details:

ValueDescription
SIP Address RequiredThe SIP address for this endpoint.
Password RequiredA password to authenticate your endpoint
Caller IDA SignalWire or verified phone number to show when dialing a PSTN number
If left blank, a random number from your purchased numbers will be chosen
Encryption statusSet encryption to Required or Optional
Outbound Call HandlerWhether to allow calls to the PSTN
Codecs and CiphersThe default codecs/ciphers you would like to use
tip

To quickly get started, you can just set the SIP Address and Password fields, and leave the rest default.

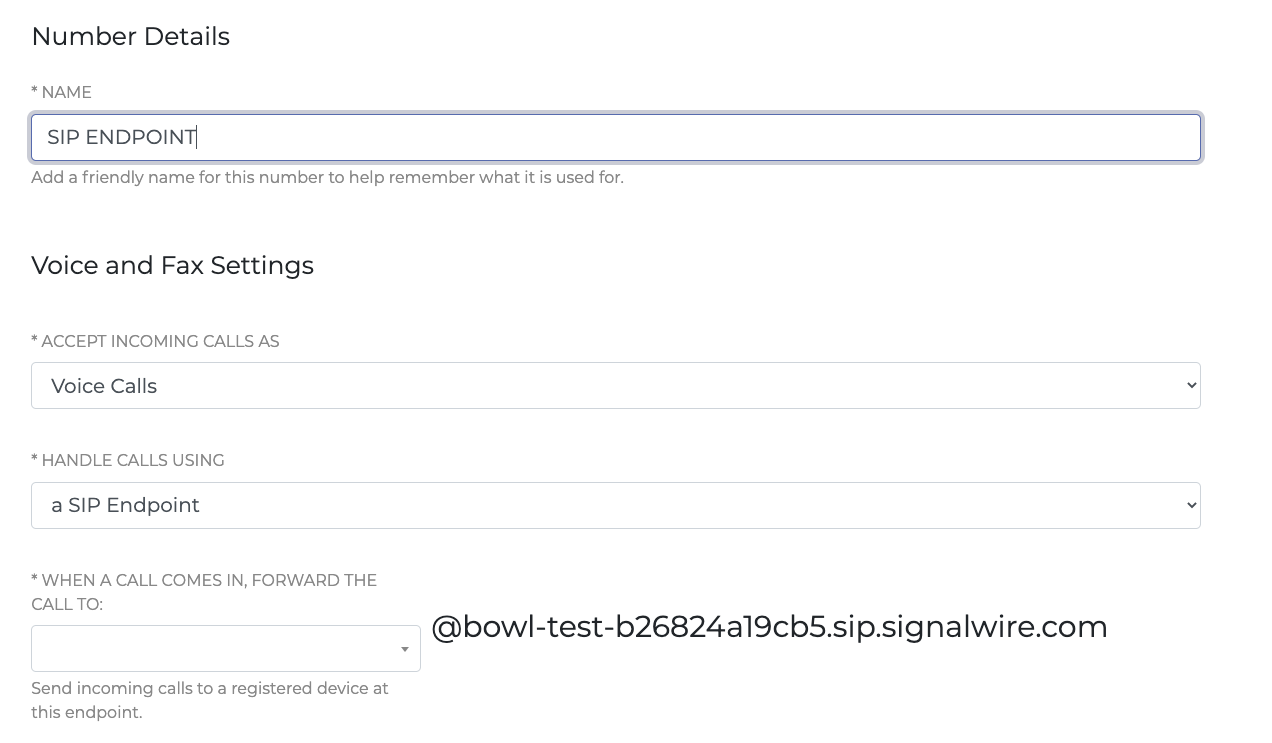
Assign to a SignalWire phone number​

After creating a SIP Endpoint, you can register it to a phone number in the Space for calls to function properly. Navigate to the Phone Numbers tab, click the phone number that you would like to register, and then click Edit Settings button. From here, in the Handling Inbound Calls setting, select Assign Resource from the dropdown and choose the SIP endpoint you created.

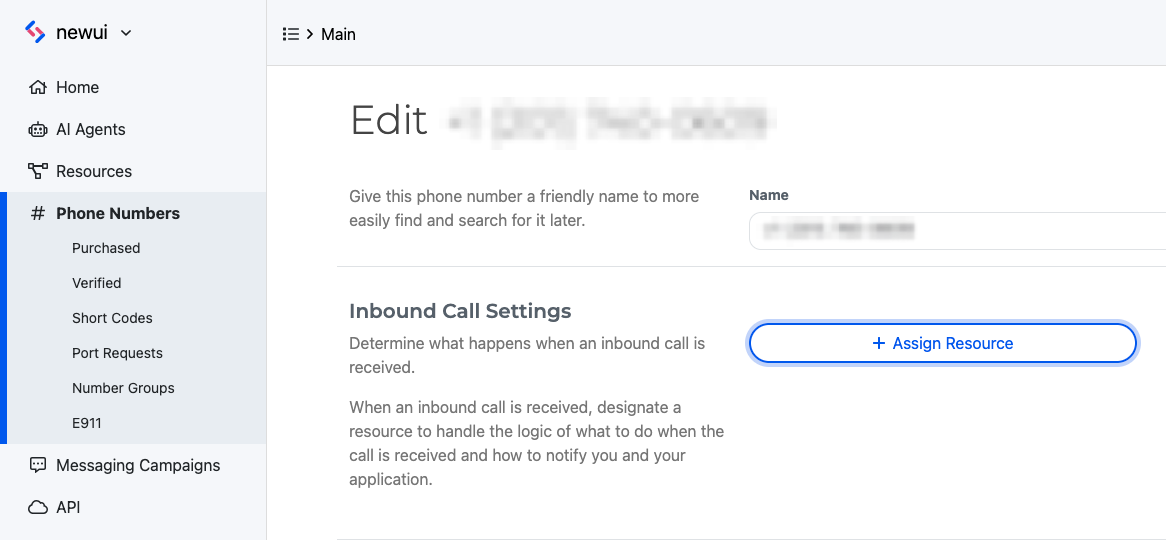
Click Save, and you are ready to make a call to your SIP endpoint!

Dial the SIP endpoint​

SignalWire offers a number of products that are capable of dialing a SIP endpoint.

Instead of setting your phone number to a SIP ENDPOINT underneath the Handle Calls Using section, you can set it to one of the above products to dial your SIP endpoint.

SignalWire offers this capability through the following products:

  • SWML Scripts - A simple markup language written in either JSON or YAML for creating SignalWire applications.
  • Call Flow Builder - A visual tool for creating SignalWire Call applications.
  • Relay Browser Applications - A JavaScript SDK for creating SignalWire applications in the browser utilizing SignalWires WebSocket APIs.
  • Use the dial method to dial a resource address that's linked to a SIP endpoint.
  • Relay Server Applications - A Node.js SDK for creating SignalWire applications on the server utilizing SignalWires WebSocket APIs.
  • cXML Scripts/Applications - Compatible cXML scripts for creating SignalWire applications. Great for users looking to migrate from a TwiML-based application.
  • REST API - A RESTful API for creating SignalWire applications. You can host your own webhook server to use these REST APIs.

In the Legacy Dashboard​

No Resources tab? Your SignalWire Space is on the Legacy Dashboard.

Expand the section below to view this guide's Legacy instructions.

Endpoints​

SIP endpoints are your system's interface with SignalWire's SIP platform. It is where your PBX (the system you use to manage calls to and from your numbers) taps into a SIP trunk to connect to a PSTN (the network that routes your calls to the end user).

The Endpoints menu lists existing endpoints and summarizes their settings. Use the search feature to easily find an endpoint to edit.

Create a new endpoint​

Get started with your first endpoint by clicking the blue "Create a SIP Endpoint" button in the middle of the page. If you already have endpoints, you will create a new one with the blue "+ New" button on the top right. This will take you to a form where you will configure settings.

  • The username is the beginning part of the SIP URL you will use to access this endpoint. Choose something concise and descriptive.
  • The password will be used to authenticate your endpoint when registering it. For security, we recommend a unique password for each endpoint.
  • The caller id is used when calling other SIP endpoints and is optional.
  • Send as is the caller id used when calling a PSTN number. Choosing is optional and, if left blank, one of your SignalWire phone numbers will be randomly chosen for the caller id display. You also have the option to "Use Default Setting" which you will set in the SIP Settings tab.
  • Encryption can be required, optional to be used only where available, or your default setting which is set in the SIP Settings tab.
  • The outbound policy allows you to restrict outbound calling to just other SIP endpoints or to allow dialing PSTN numbers as well. You can also use the default setting set in the SIP Settings tab.
  • You may set custom codecs and ciphers for your endpoint or use the default choices you set in the SIP Settings tab.

When you have finished with your settings, click "Save" to be returned to the Endpoints home screen.

Edit and delete endpoints​

From the endpoints home page, you can click on the Endpoint username to view and edit settings using the same form you created the endpoint with. The edit screen also includes a button to delete the endpoint if you wish. When deleting an endpoint, make sure all instances calling that endpoint are pointed to another endpoint. This action can not be undone.

SIP settings​

This tab is where you will configure your general and default SIP settings.

  • The SPI URI is the overall profile accessor in your SIP URLs. You may choose any string with letters and/or numbers. Please note that changing your SIP URI after creating endpoints does change the URL for all of your endpoints.
  • Default Send As sets a default for caller id when dialing a PSTN number. You may choose a specific SignalWire phone number to use or allow a random SignalWire phone number to be selected.
  • Default Encryption can be set to optional or required. If set to optional, TCP or UDP with regular RTP will be allowed if encryption is not available.
  • Default Outbound Policy can be set to passthrough or block to allow making outbound calls to PSTN numbers or not. This can be overwritten at the endpoint level.
  • Default Codecs and Default Ciphers is where you can choose which of each you would like to support. You must choose at least one of each or you will not be able to save your settings.

Assign to a phone number​

Navigate to the Phone Numbers tab. From there, click the phone number that you would like to register, and then click Edit Settings button. In the Handle Incoming Calls section, select SIP Endpoint, then input the SIP address you created.

Domain Applications​

Domain Applications allow you to send SIP traffic to a custom domain and run SignalWire resources like a RELAY Application, cXML Application, or even calling a video room to manage incoming requests. You may want to use a Domain App to SIP trunk to/from a SIP server or to use a carrier other than those partnered with SignalWire. For an excellent resource on this use case, see SIP BYOC.

Create a new Domain Application​

Get started with your first Domain App by clicking the blue "Create a Domain App" button in the middle of the page. If you already have Domain Applications, you will create a new one with the blue "+ New" button on the top right. This will take you to a form where you will configure settings. If you attempt to direct traffic to your domain app without configuring it, SignalWire will not pick up the call.

  • Name is a friendly name to identify your Domain App. Choose something concise and descriptive.

  • In App URL you can build your custom URL to access your Domain App. Note that it starts with your Space name then a string of your choice. You may only use letters, numbers, and dashes.

  • Authentication is where you can specify which IPs can send requests to your domain.

  • Handle Using is where you will tell your Domain App how to handle incoming calls. You may choose RELAY, cXML, or a video room.

    • If using a RELAY Application, you will need to specify a context for your RELAY client to listen for. Explore what you can do with RELAY in our RELAY Realtime SDK reference.
    • If using cXML Application, you will need to specify the path to your cXML application. Find more information in our guide to cXML applications and the cXML technical reference.
    • If using a Video room, specify which of your video rooms to connect the call to. The caller will join the video conference as an audio participant.
  • Encryption can be set to optional or required. If set to optional, TCP or UDP with regular RTP will be allowed if encryption is not available.

whitelisting ips

It's very important to whitelist the IPs that you want to allow through - if you do not select this option, anyone who has the URL could send traffic to your custom domain app.

Edit and delete Domain Applications​

The same settings form can be edited at any time by clicking on the Domain Application name on the Domain Apps home screen or using the â‹® menu at the end of the desired application's row.

A Domain Application can be deleted from the â‹® menu.

danger

That action cannot be undone.

Identify your Dashboard and select between Legacy and New UIs using the tabs below.

Resources that were previously accessible in the sidebar of the legacy UI are now located in the unified Resource menu.